How to Setup LAMP Stack (Linux, Apache, MySQL, PHP) on Ubuntu

A collection of free and open-source software called the LAMP stack is typically setup together to enable a server to host dynamic web applications and websites. For a dynamic web application to function, it requires a operating system, a web server, a database and programming languages. The term LAMP is representing the L for Linux operating system, A for Apache web server, M for MySQL database and P for PHP as dynamic content processor.
In this guide, we’ll install a LAMP stack on an Ubuntu 22.04 operating system.
Prerequisites
In order to setup LAMP stack on your system, followings are the prerequisites.
- Ubuntu 18.04 or later.
- Access to the terminal.
Step 1: Update and Upgrade APT (Advanced Package Tool) packages
Before installing LAMP stack, you need to update and upgrade your system packages on your system. For that you need to execute the following command on the terminal.
sudo apt update && sudo apt upgradeIf it doesn't work try to execute the commands one by one like below
sudo apt updatesudo apt upgradeStep 2: Installing Apache Server
Apache HTTP Server is the web server which is running on the top of the Linux in the LAMP stack. The web server processes requests and sends data over the internet using HTTP.
You can install Apache with the following command
sudo apt install apache2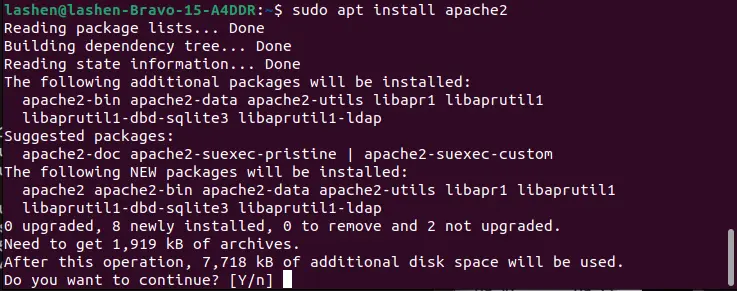
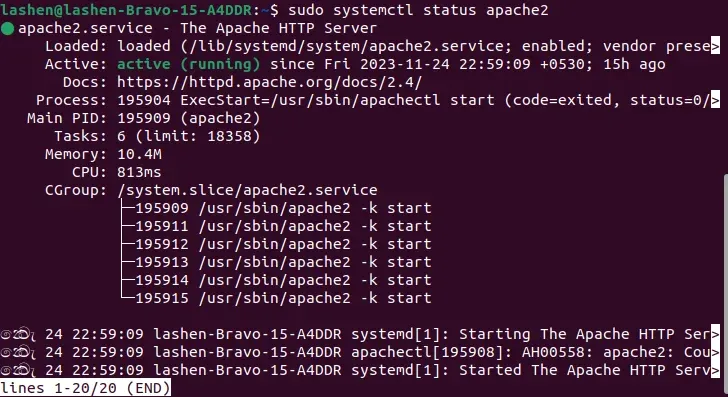
Enter y and continue with the Apache server installation. When the installation is completed you can check whether it is installed on your system or not by running the following command.
sudo systemctl status apache2You may receive an output as below that showing apache2 service has been enabled and is being running on your system.
Once confirmed that Apache server is up and running, test by accessing your server’s IP address or local IP address in your browser:
In my case, my IP address is http://localhost/ or http://127.0.0.1/ (localhost). If you are running on a VM machine you can use your public IP address. You will see the Apache2 default Ubuntu 22.04 web page.
It should seem something like below:
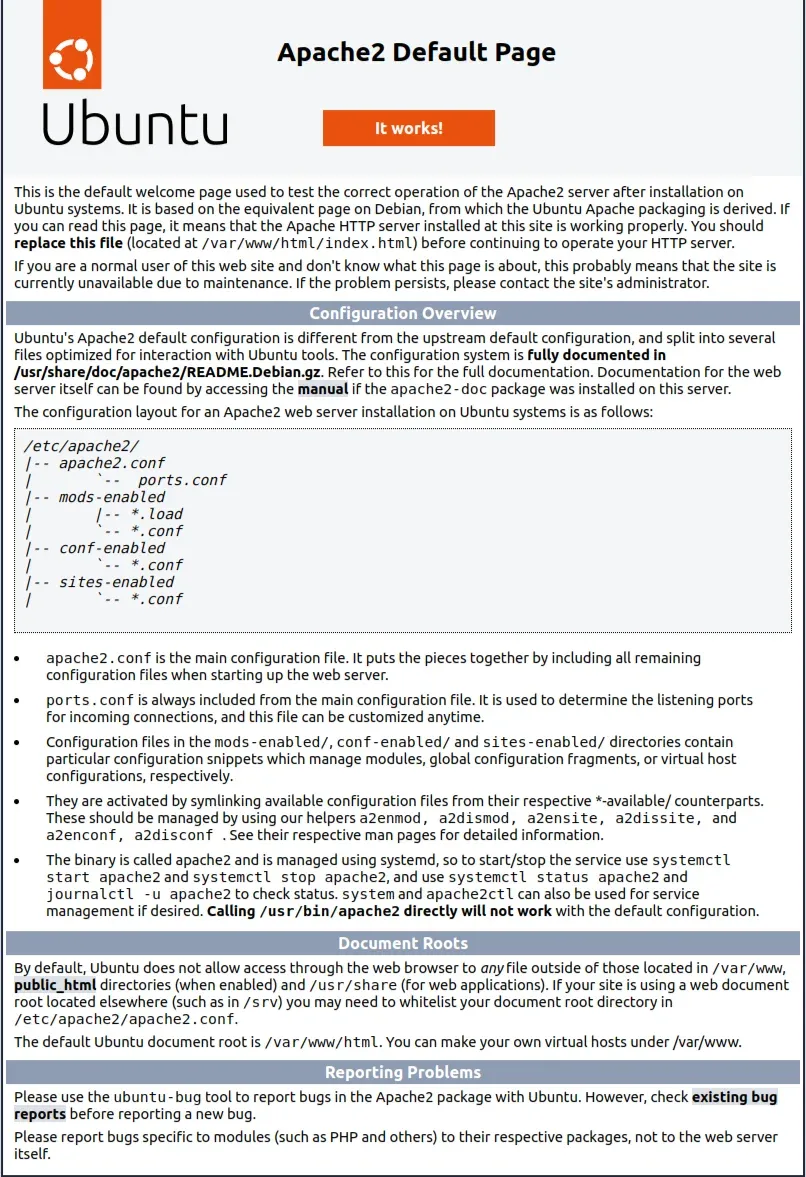
This page shows that your web server is installed correctly on your system.
Step 2: Installing MySQL Server
Now your Apache2 web server is up and running, so the next step is installing MySQL on your system. For that you need to execute the following command on terminal.
sudo apt install mysql-serverWe use MySQL as a database management system. In short, it will arrange databases that your website can use to store data and grant access to them.
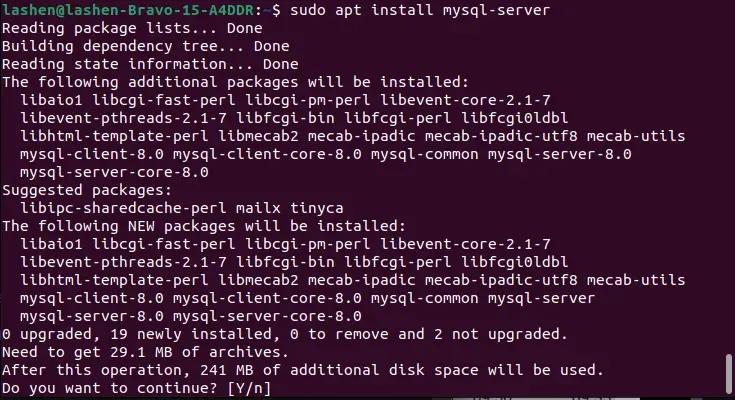
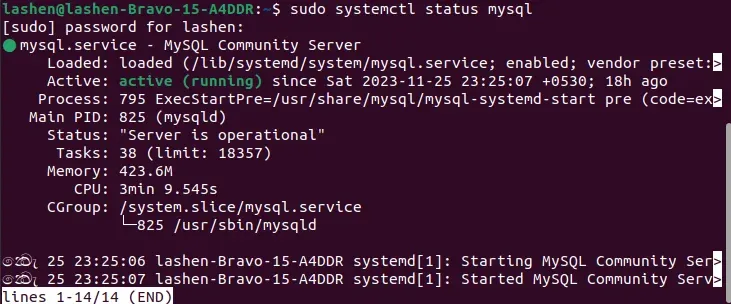
Enter y and continue with the MySQL server installation. When the installation is completed you can check whether it is installed on your system or not by running the following command.
sudo systemctl status mysqlYou may receive an output as below that showing mysql service has been enabled and is being running on your system.
Once the installation completes, execute the minimal security script that comes with MySQL by default. It will lock down access to your database system and remove some dangerous defaults.
To initiate the interactive script, execute the following command.
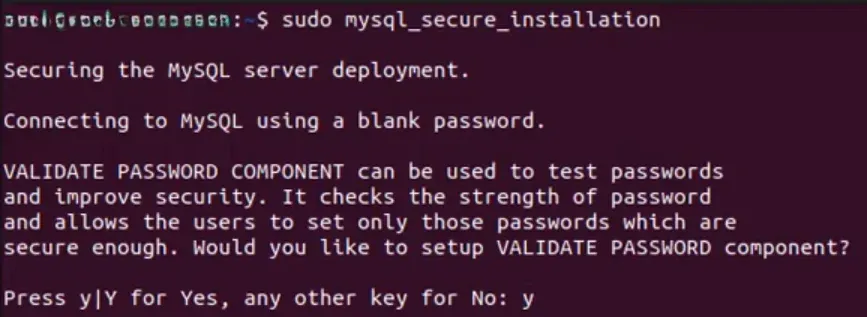
sudo mysql_secure_installationIt will ask that whether you want to configure the VALIDATE PASSWORD PLUGIN on MySQL server.
Enter y for yes, or any other key to continue without enabling VALIDATE PASSWORD PLUGIN.
If your answer is yes, then you need to select the level of the password validation. If you enter 2 here, your password level will be the strongest level. Then the password that you enter in here needs to contain numbers, upper and lowercase letters, and special characters otherwise you may receive some errors.


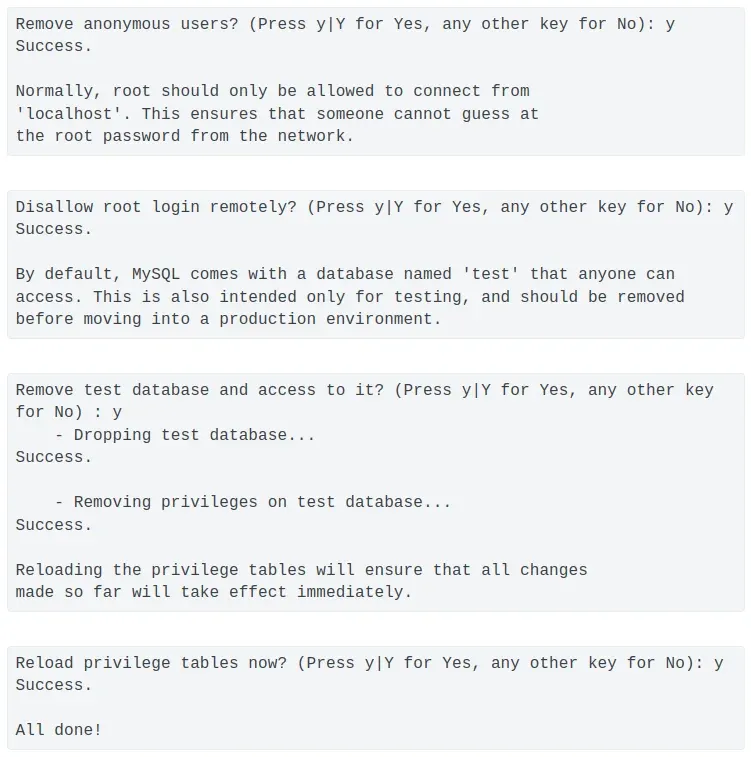
press Y and press the ENTER key at each of the prompt. It will remove test database and some anonymous users, disable remote logins for the root user, and MySQL load these new rules, immediately to the respond the changes that you have made in each prompt.
Once you're done, type the following to see if you can log into the MySQL console:
sudo mysql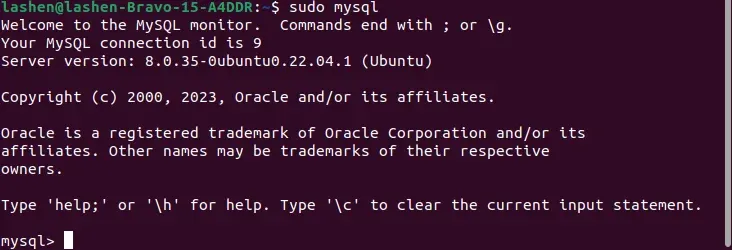
Type exit and hit enter key for quitting from the MySQL.
exitStep 3: Installing PHP
PHP is typically used at the top of the stack because of its good MySQL integration, even though other programming languages like Python and Pearl also function well in LAMP environments. PHP is a dynamically typed language that integrates with HTML to enhance web application speed and simplify its structure.
When installing PHP you’ll also need libapache2-mod-php to integrate PHP into Apache server, and the php-mysql package to allow PHP to connect to MySQL databases. Execute the below command to install all packages and their dependencies in a single line of command:
sudo apt install php libapache2-mod-php php-mysql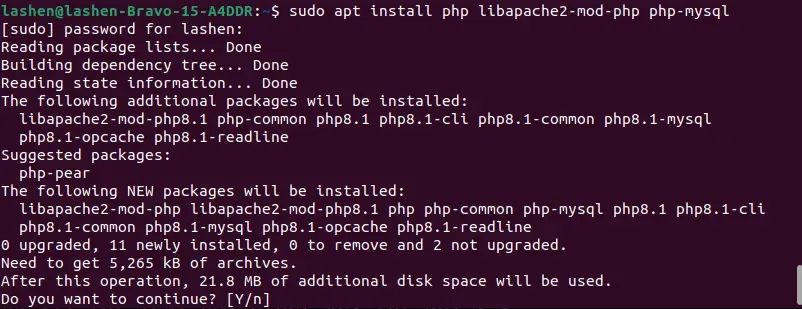
When the installation is completed you can check whether PHP is installed on your system or not by running the following command.
php --versionYou may receive an output as below that showing the installed version of PHP.

Congratulations! After that, you should have a working LAMP stack web server with PHP, MariaDB, Linux, and Apache configured and operational! Now is the time to get your website built.